
6 Most Important Instant Pot Buttons
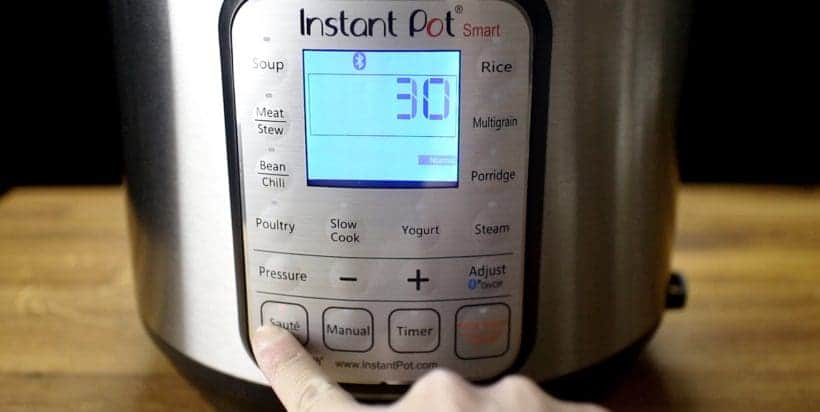
Not all buttons are created equal: 6 Buttons will take care of 90% of your cooking.Know these 6 Buttons!
Yes, there are 16 – 18 buttons on the Control Panel depending on which Instant Pot you have.
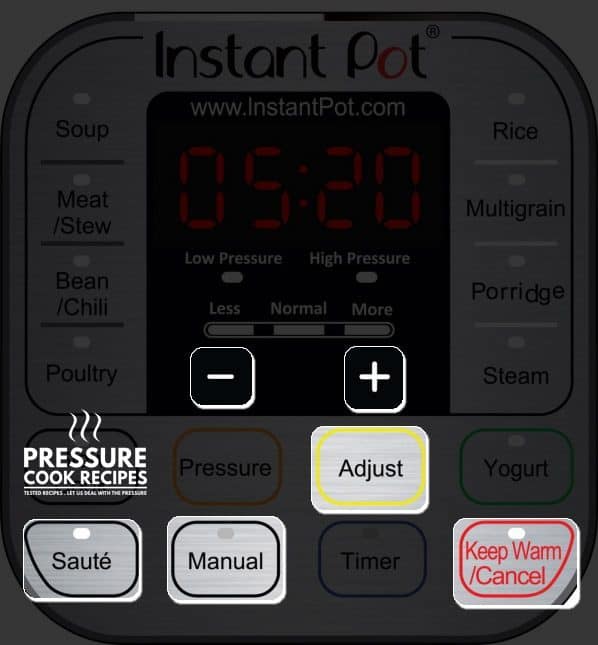
But most Instant Pot Recipes online are developed using these 6 Buttons (highlighted in above picture), because they give us control to cook precisely and accurately.
We also use the “Manual” Button to develop recipes, so readers with other pressure cooker brands can enjoy the Pressure Cooker Recipes too. 🙂
Let’s take a look at what these Instant Pot Buttons do:
1. Manual Button
- Use this to set your desired Pressure Cooking Time (Max: 240 mins)
2. “+” & “-” Buttons
- Increase or decrease the cooking time or timer with these 2 buttons
3. Adjust Button
- Press this to change from Normal Setting (default) to More Setting to Less Setting
4. Saute Button
- Use this button to saute, brown, or simmer directly in the pot with the lid open.
- Press “Adjust” Button to Change Temperature:
- Saute (default): 160 ~ 176°C (320 ~ 349°F) – regular saute or browning
- Saute More Setting (press once): 175 ~ 210°C (347 ~ 410°F) – stir-frying or browning
- Saute Less Setting (press twice): 135 ~ 150°C (275 ~ 302°F) – simmering, thickening sauce
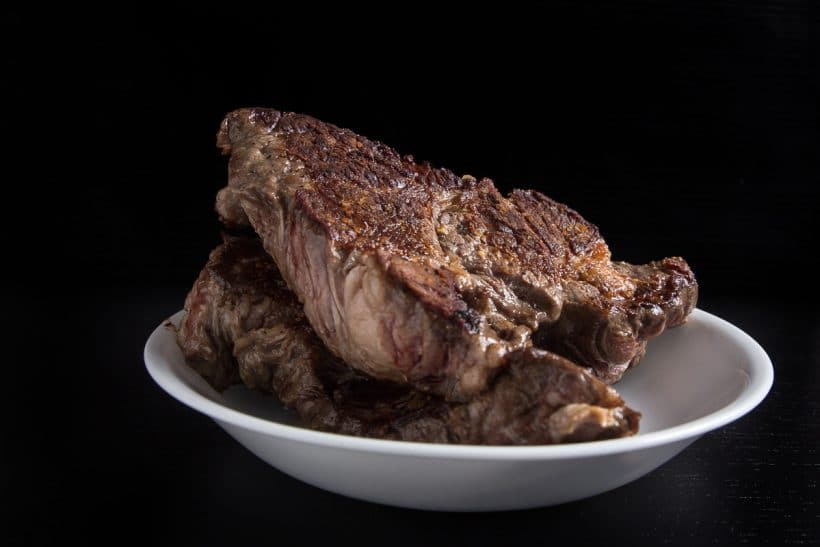
The result of browning using the Saute More Setting. Read more: Pressure Cooker Pot Roast Experiment.
5. Keep Warm/Cancel Button
- Press this to cancel the operations or turn off the Instant Pot
- Press this to start the Keep Warm Function (up to 10 hours)
- For IP-Smart: Press “Adjust” Button to Change Temperature Settings
- Default Setting: ~63°C/145°F
- More Setting (press once): 75°C/167°F
- Less Setting (press twice) ~56°C/133°F
Don’t worry if all this sounds like mumble jumbo to you right now, you’ll get it in a minute.
Programmed Instant Pot Buttons
I am wondering why you didn’t use the chili button? I also noticed everyone uses the Manual button for all recipes. What are these buttons actually for?-Readers
Great question! We actually get asked this question all the time!!
These 6 highlighted buttons below have the
exact same cooking function (Let me rephrase that! They may not be exactly the same, but the temperature charts we got from the Instant Pot Smart show very similar results) as the Manual Button (except Multigrain Button’s More Setting), but default at a cooking time pre-set by the manufacturer (see below).
All they do is suggest a cooking time for the selected type of food. You can use the “Adjust” Button, “+” or “-“ “Pressure” Button to make adjustments.
But we like to use the “Manual” Button for more precise control of the cooking method and cooking time, depending on factors such as the cut of meat, the size of the food, or the container it is being cooked in.
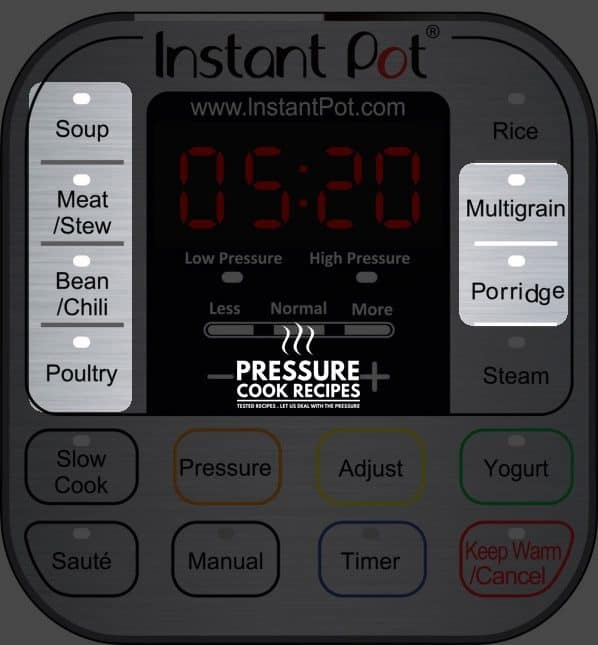
- Bean/Chili Button – Normal Setting: High Pressure 30 mins; More Setting: High Pressure 40 mins; Less Setting: High Pressure 25 mins
- Meat/Stew Button – Normal Setting: High Pressure 35 mins; More Setting: High Pressure 45 mins; Less Setting: High Pressure 20 mins
- Multigrain Button – Normal Setting: High Pressure 40 mins; More Setting: Warm water soaking for 45 mins, then High Pressure 60 mins; Less Setting: High Pressure 20 mins
- Porridge/Congee Button – Normal Setting: High Pressure 20 mins; More Setting: High Pressure 30 mins; Less Setting: High Pressure 15 mins
- Poultry Button – Normal Setting: High Pressure 15 mins; More Setting: High Pressure 30 mins; Less Setting: High Pressure 5 mins
- Soup Button – Normal Setting: High Pressure 30 mins; More Setting: High Pressure 40 mins; Less Setting: High Pressure 20 mins
Other Programmed Buttons
Pressure Button (For DUO & Smart) – Switches between High Pressure & Low Pressure Cooking Methods
- Timer Button – Sets timer to delay cooking (up to 24 hours)
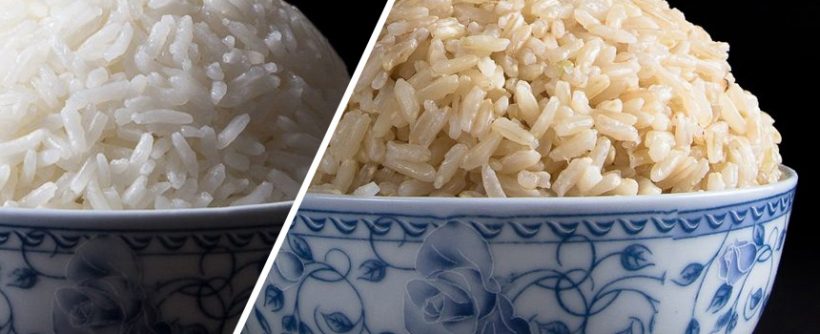
Instant Pot Rice Button
Instant Pot Rice Button’s pre-set setting uses Low Pressure Cooking Method, and the Pressure Cooking Time will automatically adjust according to the amount of rice and water in the pot.
*Note: you cannot use the “Adjust”, “+” or “-” Buttons with this program.
For best results, we use the “Manual” Button to control the cooking method and time according to the type of rice we cook.
Here Are Our Perfect Rice Recipes:
Slow Cook Button
The Preset Slow Cook Program defaults to 4-hour slow cook time.
Press “+” or “-“ Buttons to change the cooking time (Time Limit: 30 mins to 20 hours).
Press “Adjust” to change the Temperature Setting:
- Normal Setting Temperature: 194-205°F
- High Setting Temperature: 199-210°F
- Low Setting Temperature: 190-201°F
Steam Button
The “Steam” function heats at full power continuously, so the Instant Pot Company recommends to use steamer rack to lift the food away from the bottom of the pot to prevent burning.
Press “Adjust” to change the Settings: Normal Setting: High Pressure 10 mins; More Setting: High Pressure 15 mins; Less Setting: High Pressure 3 mins
Yogurt Button (For IP-DUO & IP-Smart)
Press “Adjust” to change the Settings:
- Normal Setting: Make yogurt
- More Setting: Pasteurize milk
- Less Setting: Make Jiu Niang (aka fermented glutinous rice)
Whew! I know that was a lot to take in!!
So, we’ve created a list of step-by-step examples on the most commonly used functions below. This way, you’ll know exactly which button to press to do what! 😀
Examples: Which Instant Pot Button To Press
Example 1: When a recipe states “Cook at High Pressure for 10 minutes”
- Press the Manual Button
- Press “-” button or “+” button to change the cooking time to 10 minutes
Example 2:
a) Sauteing
- Press “Saute” Button
- Wait until the indicator says HOT, then you can start sauteing
b) Saute More (Higher Temperature)
- Press “Saute” Button
- Press “Adjust” Button once to change to More Setting
- Wait until the indicator says HOT, then you can start sauteing
Example 3: Delay Cooking
- Press the Manual Button
- Press “-” button or “+” button to change to your desired cooking time
- Press the “Timer” Button
- Press “+” or “-” buttons to set the delayed hours
- Press the “Timer” Button again to change the minutes
Example 4: Preset Program Cooking – Slow Cook
- Press “Slow Cook” Button
- Press “Adjust” Button to change the Temperature Setting (Normal, More, Less)
- Press “+” or “-” to change cooking time
6 Most Important Instant Pot Buttons
![6 Most Important Instant Pot Buttons]() Reviewed by Unknown
on
junio 23, 2017
Rating:
Reviewed by Unknown
on
junio 23, 2017
Rating:

")


No hay comentarios: